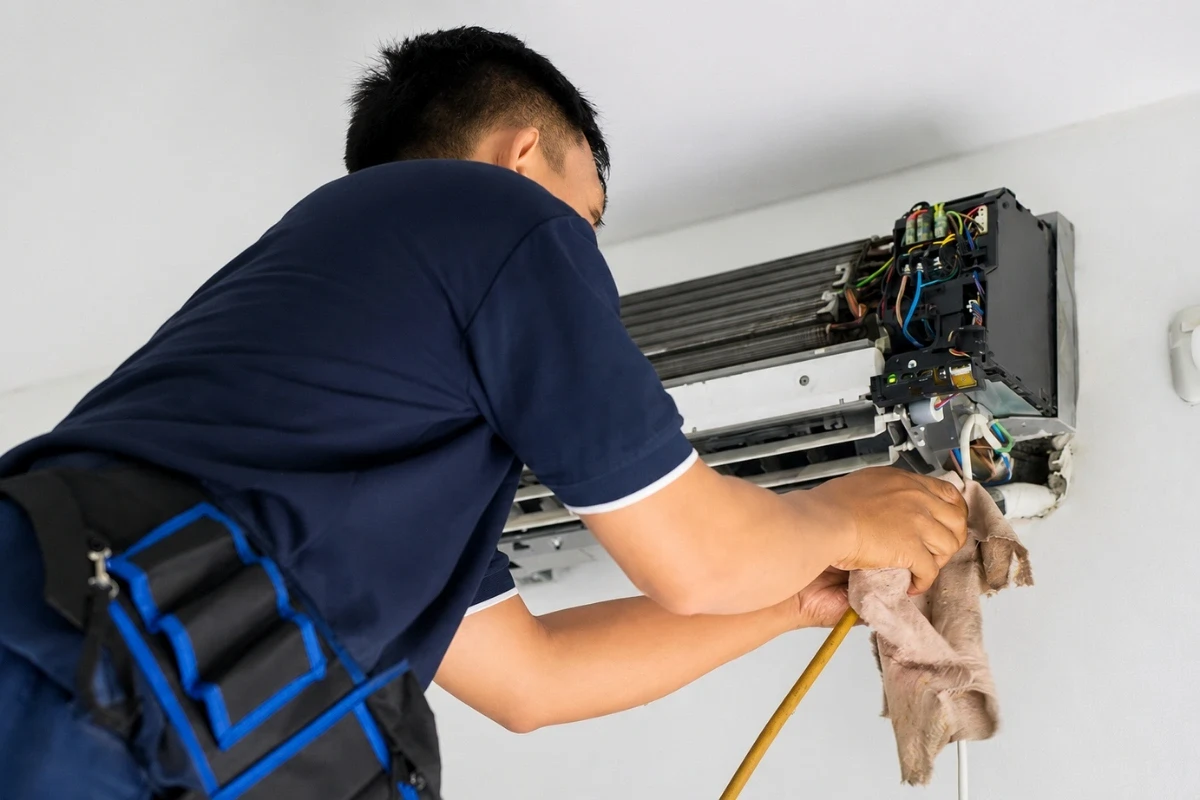
A clean HVAC installation begins with a rock-solid foundation, precise refrigerant routing, and flawless drainage. I follow a rigorous three-step process to ensure your unit runs at peak efficiency while protecting your home from humidity and vibration. You deserve a system that operates quietly and lasts for years without constant repairs.

I know it sounds overwhelming to learn all at once. I have noted down a clear overview of the professional standards I use for site prep, line sets, and drainage. For once, you can see exactly how a high-quality setup should look behind the scenes.
Key Takeaways
|
Step 1: Condenser Pad and Foundation Installation
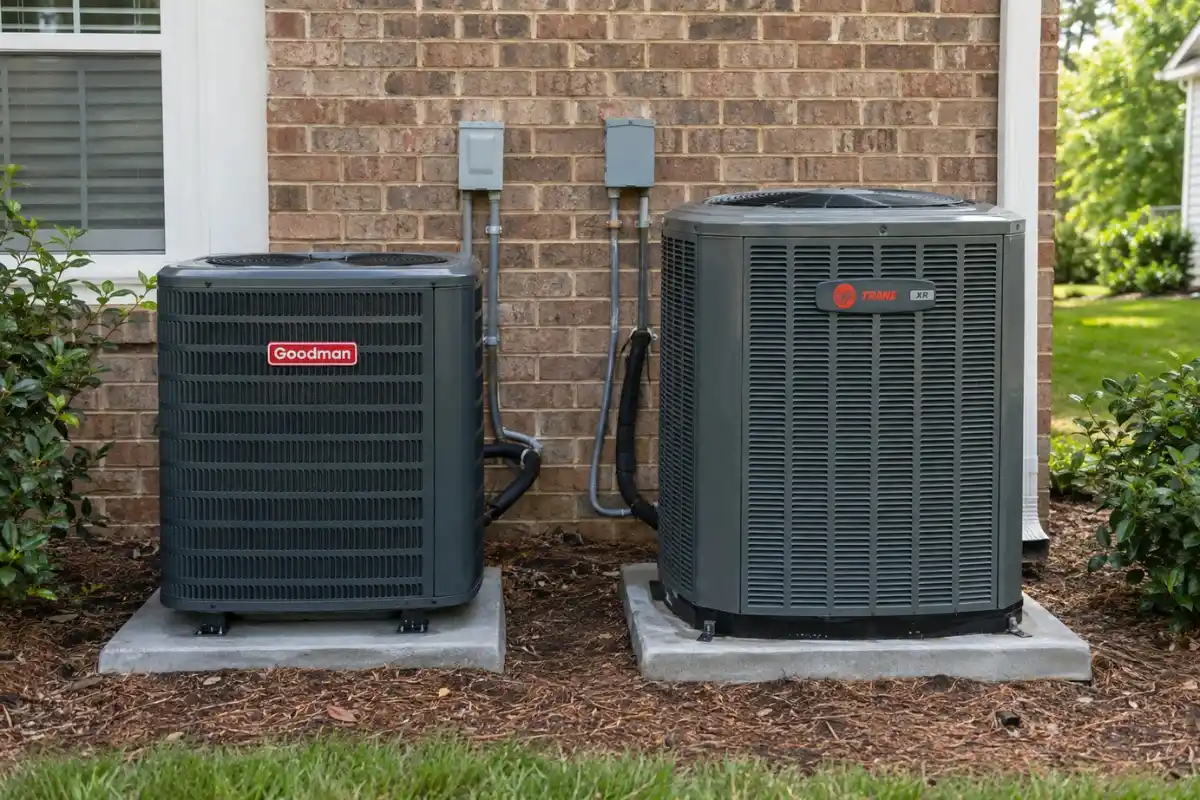
A level, stable base prevents mechanical vibration and keeps your system’s oil flowing correctly. I follow these steps to build a foundation that withstands the shifting red clay in Durham and Raleigh. Beyond ensuring a solid base and meeting electrical and breaker requirements, a proper foundation protects the compressor and keeps the unit quiet.

Site Clearing and Soil Stabilization
Begin by removing all grass, weeds, and loose topsoil from the installation area. Reaching the firm subsoil is vital because organic material decays and causes the unit to sink over time. Dig deep enough to accommodate a base layer, ensuring the ground is firm and free of large rocks or roots that might shift later.
Creating the Aggregate Drainage Base
Pack down a 2-inch layer of crushed stone or pea gravel over the cleared ground. This stone layer provides a dedicated drainage path for rainwater and prevents mud from splashing onto the unit.
A compacted gravel base also distributes the weight of the condenser more evenly than raw dirt. This step is essential for managing the heavy moisture levels we experience in North Carolina.
Pad Selection, Leveling, and Elevation
Choose a high-quality composite pad for the foundation. These pads absorb motor vibration much better than traditional concrete, which keeps the system quiet. Use a 4-foot level to verify the pad sits perfectly flat so the oil stays balanced inside the compressor.
Finally, I set the pad 2 to 3 inches above the yard grade to satisfy outdoor unit placement rules and keep mulch, leaves, and yard debris away from the sensitive coils.
Step 2: Line Set Routing and Protection
Strategic line set routing ensures peak refrigerant flow and protects the copper from environmental damage. I follow a specific sequence to install the refrigerant lines. This process maintains the unit’s cooling capacity and prevents long-term leaks. I select the most direct path between the indoor and outdoor components to keep the system running at the highest possible efficiency.

Route Planning and Sizing
Identify the exact diameters of the liquid and suction lines required by the manufacturer. Measure the total distance between the units and map a path with the fewest possible turns, ensuring efficient attic and crawlspace access for the copper pipes. This planning phase prevents energy waste and ensures your unit delivers its full cooling capacity.
Precision Bending and Connection
Use a mechanical tubing bender to create smooth curves in the copper pipes. I avoid bending the lines by hand because manual force often causes kinks or flat spots that restrict refrigerant flow. Once the lines are in place, I prepare the ends for a leak-free connection. These sweeping turns allow the refrigerant to move freely and reduce the workload on your compressor.
Insulation and Environmental Shielding
I slide thick, closed-cell foam insulation over the suction line to prevent energy loss and condensation. I seal every seam with weather-proof adhesive to stop water from dripping inside your walls. Finally, I installed a rigid, UV-rated line set cover over the exterior pipes. This hard-shell shield protects the insulation from the sun and prevents local wildlife from nesting in the materials.
Step 3: Condensate Drain and Safety Control Installation
Correct drainage prevents water damage and stops biological growth from clogging your system. I follow this sequence to manage the gallons of water your AC removes from the air every day. Proper sloping and safety switches protect your ceilings and floors from expensive leaks.

Calculating Slope and Gravity Flow
I installed the primary PVC drain line with a consistent downward pitch. I maintain a slope of at least 1/4 inch for every foot of pipe to ensure gravity pulls water away from the unit.
This constant angle prevents standing water from collecting in the pipe, which reduces the risk of algae buildup and clogs. I verify the pitch with a level to confirm that the water flows directly to the exterior exit point.
Installing the P-Trap and Vent System
I place a P-trap in the drain line to create a water seal. This seal prevents air from being pulled through the pipe, allowing the condensate to exit the unit smoothly. Immediately after the trap, I install a vent tee.
This vent maintains atmospheric pressure inside the pipe and prevents airlocks. I also include a cleanout tee above the trap to make future maintenance flushes simple and fast.
Wiring Safety Switches and Secondary Pans
I mount a float switch on the primary drain line or the emergency pan. This switch acts as a fail-safe by cutting power to the system if it detects a backup. For units located in attics or upper floors, I place a secondary overflow pan underneath the entire indoor unit.
I route a separate drain line for this pan to a highly visible location, such as above a window, so you notice immediately if the main drain fails.
Advanced Technical Procedures for System Integrity
Understanding the advanced technical steps to ensure your system remains clean and airtight. These procedures happen behind the scenes but determine the lifespan of your compressor.
Improper installation can reduce system efficiency by up to 30%, leading to higher bills and shorter equipment life. By following the protocols below, I ensure your unit operates at the high efficiency level you paid for.
Nitrogen Purging Protocols During the Brazing Process
Flowing dry nitrogen through the lines prevents internal oxidation and keeps the system clean. When I use a torch to join copper pipes, the heat creates black flakes called copper oxide inside the line. To stop this, I keep a low-pressure flow of nitrogen moving through the pipes while I work. This nitrogen displaces the oxygen, so the inside of your lines stays as shiny and clean as the outside.
Your expansion valves and screens stay clear of debris, which prevents system blockages. I treat nitrogen purging as a mandatory step for every installation to protect your warranty. Always ask your installer if they use a nitrogen regulator during the brazing process.
Vacuum Evacuation and Micron Gauge Verification
A deep vacuum removes all moisture and non-condensable gases from the refrigerant circuit. Once the lines are sealed, I connect a high-power vacuum pump to pull out every bit of air and humidity. I use a specialized tool called a micron gauge to measure the depth of the vacuum. I look for a reading of 500 microns or lower to confirm the system is perfectly dry.
A standard manifold gauge cannot see these tiny measurements; only a digital micron gauge ensures the system is ready for refrigerant. I use precision digital tools to guarantee your system reaches the highest industry standards for dryness.
Pressure Testing for Refrigerant Leak Detection
A high-pressure nitrogen test verifies that every joint is 100% airtight before the unit starts. Before I introduce any refrigerant, I pump the system full of high-pressure nitrogen. I leave the system under this pressure and monitor the gauges for any movement. If the needle stays perfectly still, I know the system has zero leaks. This prevents expensive refrigerant loss and protects the environment.
I typically pressurize the system to the manufacturer’s specific test limit, often between 300 and 500 PSI. At Alternative Aire, we perform a rigorous standing pressure test on every new installation to ensure long-term reliability.
Maintenance Procedures for New HVAC Installations
Regular upkeep of your drainage and outdoor components prevents common breakdowns and maintains energy efficiency. I follow these maintenance steps to ensure your system continues to run like the day I installed it. Taking a few minutes to check these areas each season, similar to the steps taken to prepare your home for HVAC installation, protects your investment and keeps your utility bills low.

Flush the Condensate Line
I recommend clearing your drain line at least once a year to remove algae and dust buildup. You can use a specialized brush or a high-pressure flush tool to clear the entire length of the PVC pipe. This prevents water backups and stops your safety switch from shutting down the system on a hot afternoon.
| Expert Tip: Pour a cup of distilled white vinegar down the cleanout tee twice a year to kill biological growth. |
Clear Debris from the Outdoor Unit
I check the area around your outdoor unit to ensure there is at least two feet of open space on all sides. I use a garden hose to gently rinse the coils and remove any trapped pollen, grass clippings, or dust. Clearing away these obstructions allows your condenser to breathe and shed heat efficiently.
I often see units in Durham choked by dryer vent lint or overgrown shrubs; keeping this area clear lowers your operating costs significantly.
Inspect the Line Set Insulation
I look for any cracks or missing sections in the black foam insulation covering your copper pipes. Over time, the sun can bake the foam until it falls apart, or birds might pick at it for nesting material. I replace any damaged sections immediately with new, UV-resistant insulation to keep the refrigerant cold.
Maintaining this foam wrap prevents energy loss and stops water from dripping into your home. Dirty coils and restricted airflow can increase your cooling costs by 15% to 25%.
Walk outside and check your copper pipes for any exposed metal or thinning insulation. Following professional operations and maintenance (O&M) best practices can save homeowners between 5% and 20% on energy bills without any additional capital investment.
Conclusion
A professional HVAC installation needs precision, technical expertise, and a total commitment to quality. By following these foundational steps from site preparation to advanced system commissioning, I ensure your new unit delivers peak efficiency and reliable cooling for years. Proper installation shields your home from water damage and keeps your energy bills low. Trust these rigorous standards to secure your long-term comfort and peace of mind.
Ready for a superior home comfort experience? Contact Alternative Aire today for a professional consultation.
Frequently Asked Questions
How Long Should A Professional Hvac Installation Take?
A standard residential installation typically requires 8 to 12 hours of focused work. I plan for a full day of labor to complete precise technical steps like vacuum evacuation and pressure testing. While complex attic setups may require more time, most jobs finish within one business day.
Why Is My Outdoor Unit On A Pad Instead Of The Grass?
Elevating the unit on a pad protects it from moisture, soil movement, and yard debris. I avoid placing equipment on bare ground because weight causes it to sink and unbalance the internal oil levels. This stable foundation prevents rust on the metal base and stops the fan from sucking in grass clippings.
What Is The Purpose Of The White PVC Pipe Near My Unit?
This pipe is the condensate drain that carries away the water your system pulls from the air. I installed this line to prevent humidity from damaging your home and causing indoor mold or water stains. In our local climate, this pipe moves a significant amount of water every hour to keep your indoor air dry.
How Do I Know If My System Foundation Has Shifted?
Place a four-foot level across the top of the condenser pad to check for a tilt. If the bubble stays off-center, the shifting soil has compromised your unit’s stability and oil circulation. I recommend a professional stabilization before the tilt strains your refrigerant lines or compressor motor.
What Happens If The Technician Skips The Nitrogen Purge?
Oxidation will form black soot inside your copper lines and eventually clog your system. This debris travels straight to the expansion valve, causing the unit to lose cooling power or fail entirely. I always use nitrogen during brazing to keep the internal circuit as clean as a factory-sealed unit.