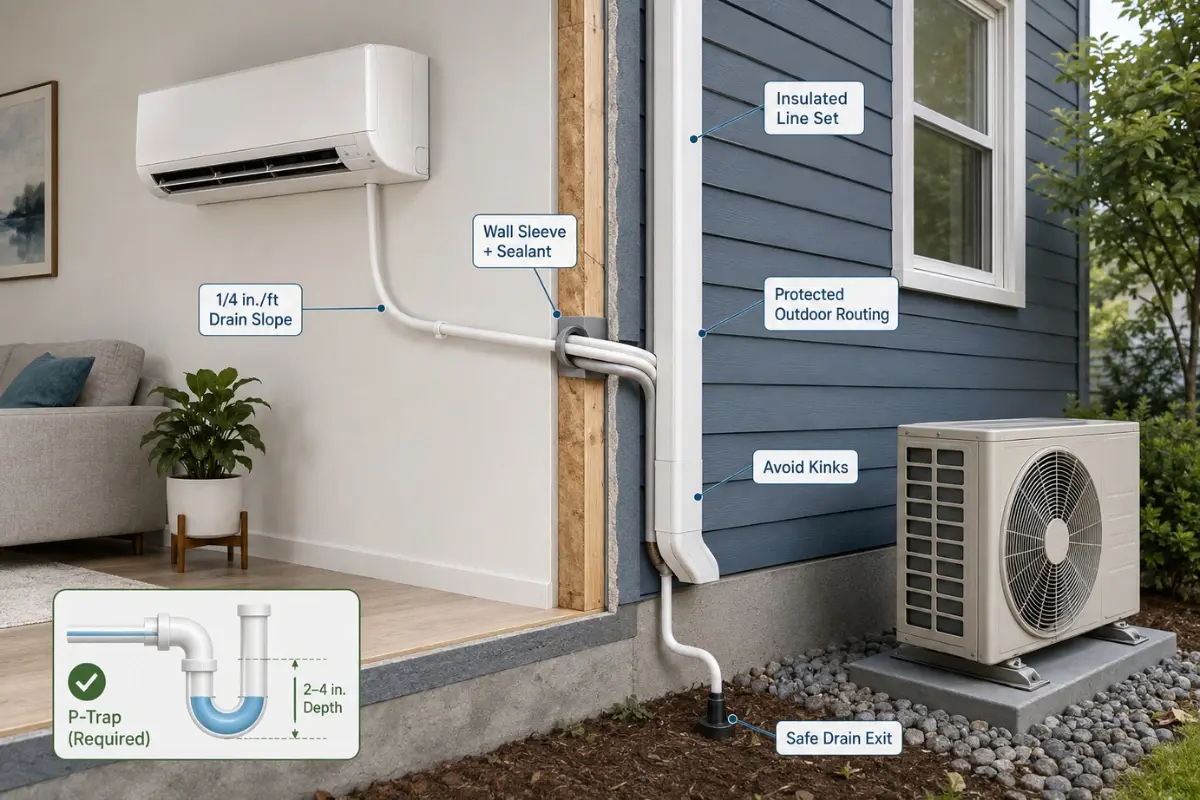
Proper line set routing and condensate drainage depend on maintaining a consistent downward slope so water drains naturally. A minimum of 14 an inch per foot is typically maintained for reliable gravity flow.
You also want to install P-traps in the drain line to stop air from being pulled in, and make sure all wall openings are sealed properly to prevent leaks and air gaps.
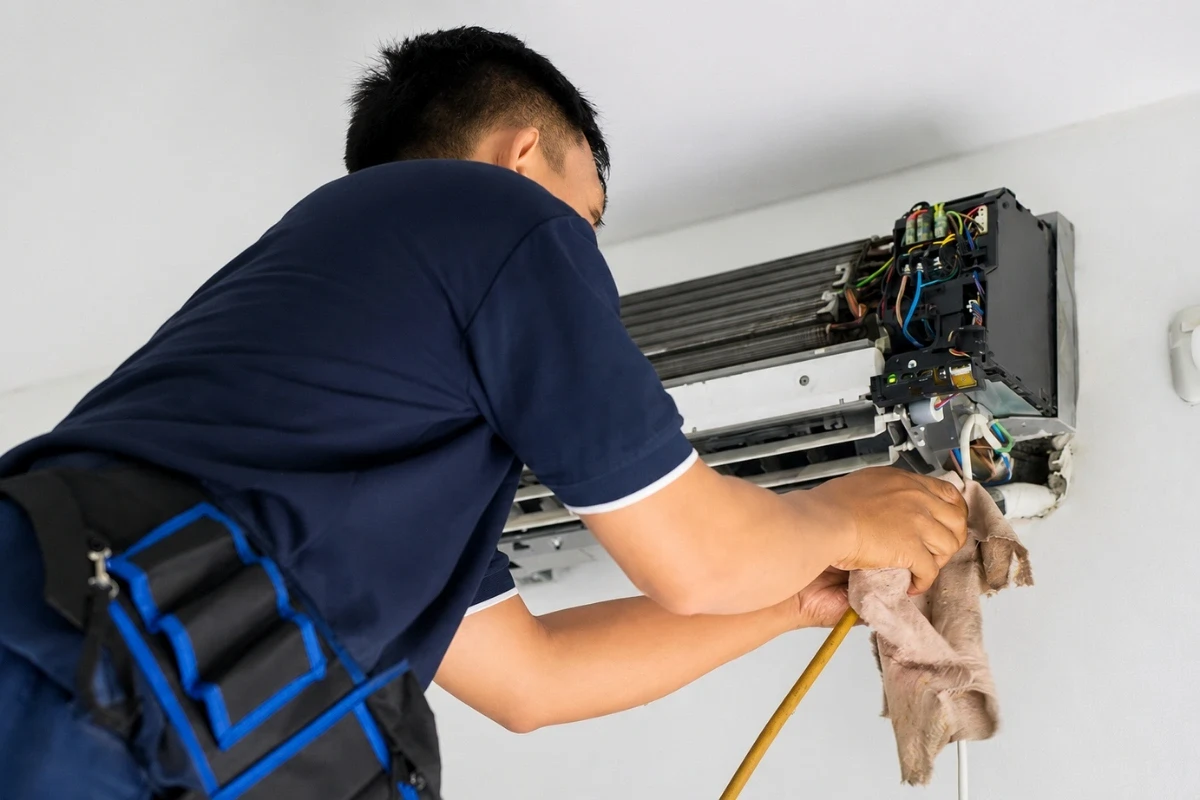
When homeowners call Alternative Aire, the problem usually isn’t the equipment; it’s the installation details behind the walls. One recent homeowner in the Triangle area had a brand-new mini split that “just wasn’t right.”
The room felt humid, water stains started forming below the indoor unit, and the system efficiency dropped within months.
This guide walks you through exactly how to avoid those problems. Whether you’re planning a new install or trying to fix an existing one.
| TL;DR:Plan your mini split’s line set and drainage route carefully to ensure peak efficiency, prevent water damage, and comply with North Carolina mechanical codes. |
Why Line Set Routing & Drainage Matter in Mini Splits?
Proper routing and drainage are the backbone of a reliable HVAC system, ensuring your investment delivers peak performance for years to come.
- Boosts System Efficiency: Short, direct line-set runs minimize refrigerant pressure drops. It helps maintain high SEER2 ratings and lowers monthly power bills. That helps you to find the correct size of a mini split.
- Extends Compressor Life: Reducing the physical workload on your compressor prevents mechanical strain and early equipment failure, saving you thousands in replacement costs.
- Prevents Moisture Damage: Accurate drainage prevents water from backing up, which is essential for stopping mold growth and protecting your home’s structural integrity.
- Controls Indoor Humidity: Efficient condensate removal helps your mini split dehumidify your space. It keeps your home comfortable during sweltering North Carolina summers.
Homeowners must prioritize these details during planning to avoid the costly wall damage and high energy costs caused by poor installation. Finding the right balance between single and multi-zone systems is important for managing humidity cost-effectively.
Planning Line Set Routing Before Installation
You must map your route before you touch a drill. You should also map it before you buy any materials. Look for the shortest path for your lines. Avoid structural beams and electrical wires. Watch out for plumbing pipes inside your walls. This planning keeps you from finding costly surprises later.
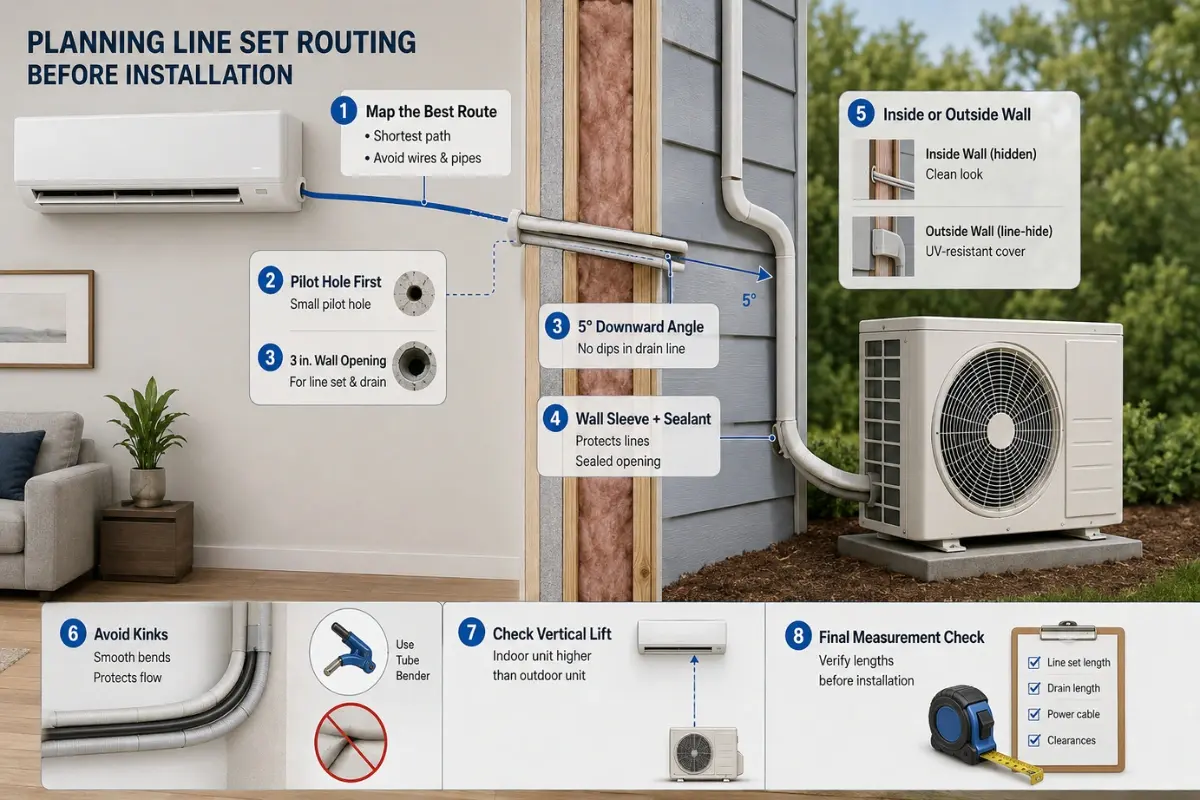
- Mapping the Best Route (Before Drilling)
Start by mapping the entire path from the indoor air handler to the outdoor condenser pad. Choose the shortest, most direct route to maintain maximum system efficiency. Carefully measure distances to ensure your ductless AC line set length falls within the manufacturer’s requirements for optimal performance.
- Line Set Routing Through Wall (Step-by-Step)
Now you are ready for the most important cut. Use these steps for a clean mini split wall penetration:
Step 1: Use the template to mark the hole behind the indoor unit bracket.
Step 2: Drill a small pilot hole first. This lets you check for hidden studs or wires.
Step 3: Use a 3-inch hole saw for the final mini split wall penetration. Cut through the siding and the drywall.
Step 4: Angle the hole 5 degrees downward toward the outside. This helps with ductless system drainage gravity. It stops leaks from coming inside.
Step 5: Put in a stiff wall sleeve. This protects the copper refrigerant lines from sharp edges.
Step 6: Use a good mini-split line-set penetration sealant. This keeps out air, water, and bugs.
If you can follow those correctly, then you will find the right place for indoor heads and outdoor units to reduce noise.
- Running Lines Inside & Outside Walls
You have two main options for routing your lines: hiding them inside walls or running them along the exterior.
- Interior Walls: This creates a clean, high-end look but requires significant labor, including cutting and repairing drywall.
- Exterior Walls: This is often easier to install and provides better serviceability. If a leak occurs, you can reach the copper refrigerant lines without tearing your home apart. Decorative covers can be used to keep the exterior looking neat.
- Avoiding Sharp Bends & Kinks
You must follow the mini split line set bending radius. Do not kink the soft copper tubes. A kink is like a clog in a straw. It blocks the refrigerant from moving. This makes your system run poorly.
- Risk of Kinks: A kinked line can cause the indoor coil to freeze or ruin the compressor.
- Proper Tools: I suggest using a tube bender for corners to ensure the pipe stays round and open.
If you kink a line, the indoor coil might freeze. It can also ruin your compressor. I always suggest using a tube bender for corners. This tool keeps the pipe round and open.
5. Line Set Elevation and Oil Return Limits
Watch your line set elevation change limits closely. This is vital when the indoor unit sits much higher than the outdoor unit, as gravity can prevent oil from returning to the compressor.
- Vertical Lift: Check your manual for the limit on vertical lift and the mini split line set maximum length.
- Performance Loss: Exceeding these limits causes a mini split line set too long performance loss.
- Oil Traps: Always use a slight refrigerant line oil return slope on long flat runs to keep the system healthy.
6. Finalizing the Plan
Check your measurements one last time. Do this before you make any permanent changes to your house. Make sure your path allows for the correct mini-split drain line slope requirements. You cannot have any “dips” or “humps” in the drain.
Confirm your unit capacity matches your specific room size requirements.
A good plan saves time and reduces waste. It ensures your system looks great and runs well. Spend a few hours on this stage to prevent water from getting on your floors. Following these steps helps us avoid common disasters.
Where to Place the Outdoor Unit (Routing Starts Here)?
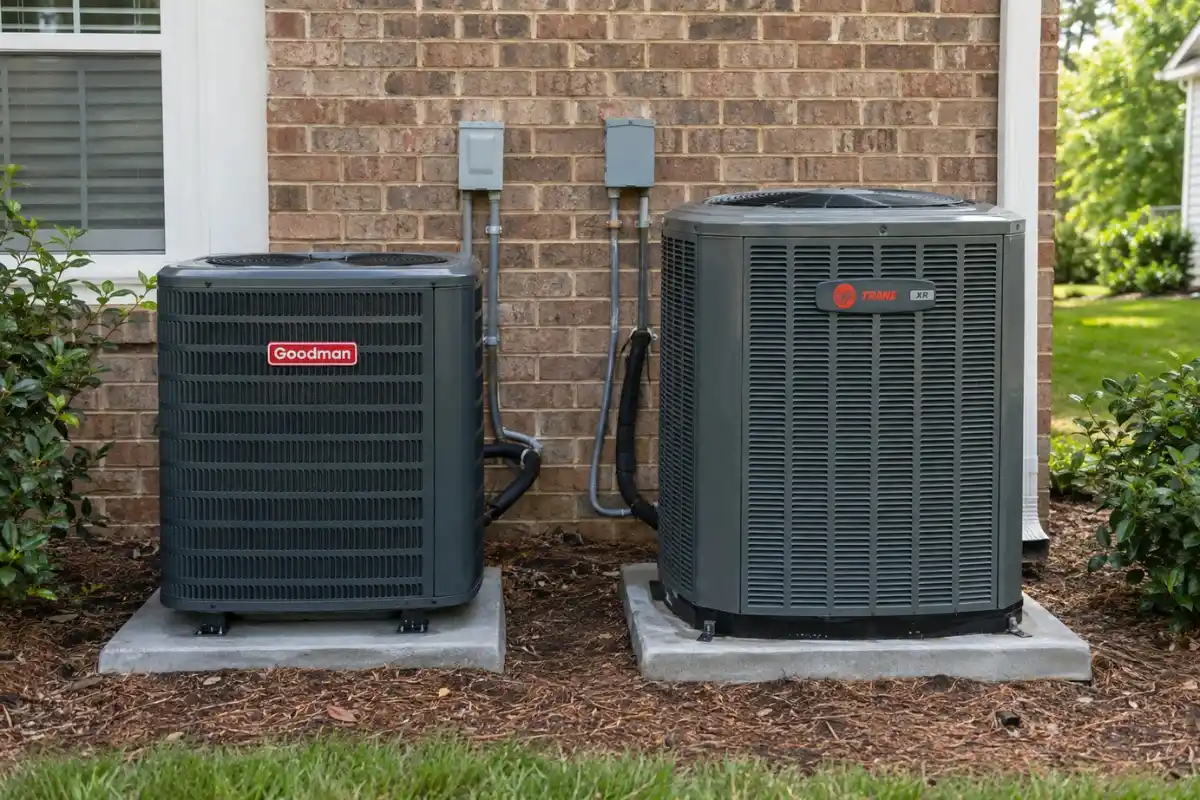
The spot you pick for your outdoor unit sets the path for everything else. You must choose a location that stays clear of dirt and leaves. It also needs to provide easy access for the outdoor unit line set connection during future service calls.
Best Outdoor Unit Placement Tips
Your mini-split outdoor unit must be placed to ensure proper airflow. Follow these simple distance rules:
- Keep the unit at least 12 inches away from any walls or fences. This works perfectly for single- and multi-zone systems.
- Ensure there is enough room for a technician to stand and work on the system.
- Place the unit high enough to avoid being buried by snow or flooded by heavy rain.
Protecting Outdoor Lines from Weather
The sun is very hard on your equipment over time. Constant heat degrades pipe insulation, making your system less efficient. You should always apply line set UV protection outdoors to prevent this damage.
We use high-quality tape or rigid line to hide cover channels. These covers stop the foam from crumbling under the hot summer sun. Protecting these lines keeps your system running at its best, especially during the intense summer humidity in Durham.
Line Set Insulation & Protection
Many people ask, ” Do mini split refrigerant lines need to be insulated? The answer is a firm yes. You must insulate both the liquid and suction lines individually to prevent major energy loss. This protection also prevents condensation from forming and dripping into your walls, which helps prevent mold.
Preventing Condensation & Moisture Issues
Standard refrigerant line insulation mini split systems usually require a thickness of 1/2 inch. Proper insulation ensures the ductless system drainage gravity works correctly without causing the pipes to “sweat”. If the pipes sweat, moisture can pool in areas you cannot see, leading to structural rot or ceiling stains. Always double-check that every inch of the copper refrigerant lines is covered with high-quality, closed-cell foam.
Cold Weather Protection Tips
During winter, you must know how to keep the mini-split drain line from freezing. If ice blocks the tube, the water will back up and leak inside your home. So, to prevent that you need to keep the dehumidification modes and set points. We often install heat tapes in very cold areas. You should also ensure the drain ends in a spot where ice won’t pile up and block the exit.
How to Hide Mini Split Lines
You can transform an ugly installation into a professional one using decorative covers. These “line hides” protect the system while maintaining your home’s curb appeal.
By following these simple steps, you can achieve a factory-finish look:
- Select a line set cover installation kit that matches your exterior siding color perfectly.
- Install a line-hiding cover channel to protect the pipes from wind and rain.
- Use specialised fittings for routing on brick, vinyl & exterior walls to ensure a tight seal.
- Plan the vertical runs to follow natural architectural lines, such as downspouts or corner trim.
- Paint the PVC covers if a factory color match is not available for your home.
Using these covers does more than just look good. They shield your mini split’s refrigerant line insulation from UV rays and pests. This protection keeps your system running at peak efficiency for many years.
Condensate Drain Line Slope & Installation Rules
Gravity is your best friend when it comes to drainage. You must follow the mini split drain line slope requirements very carefully. You need to maintain a pitch of at least 1/4 inch for every foot of horizontal run. This downward slope ensures water moves quickly and prevents standing water in the pipes.
Pipe Size & Material Requirements
Most local codes require 3/4-inch PVC or specialized flexible tubing for condensate drain code compliance. Always use the right materials to ensure a long-lasting fix. You must glue all joints properly to prevent leaks behind your drywall.
P-Trap, Venting & Cleanouts
A condensate trap requirement in a mini split stops sewer gases or outdoor odors from entering your home. We also suggest adding an accessible cleanout tee. This makes it easy to flush the line with vinegar to stop algae and biofilm growth.
Preventing Drain Line Problems & Water Damage
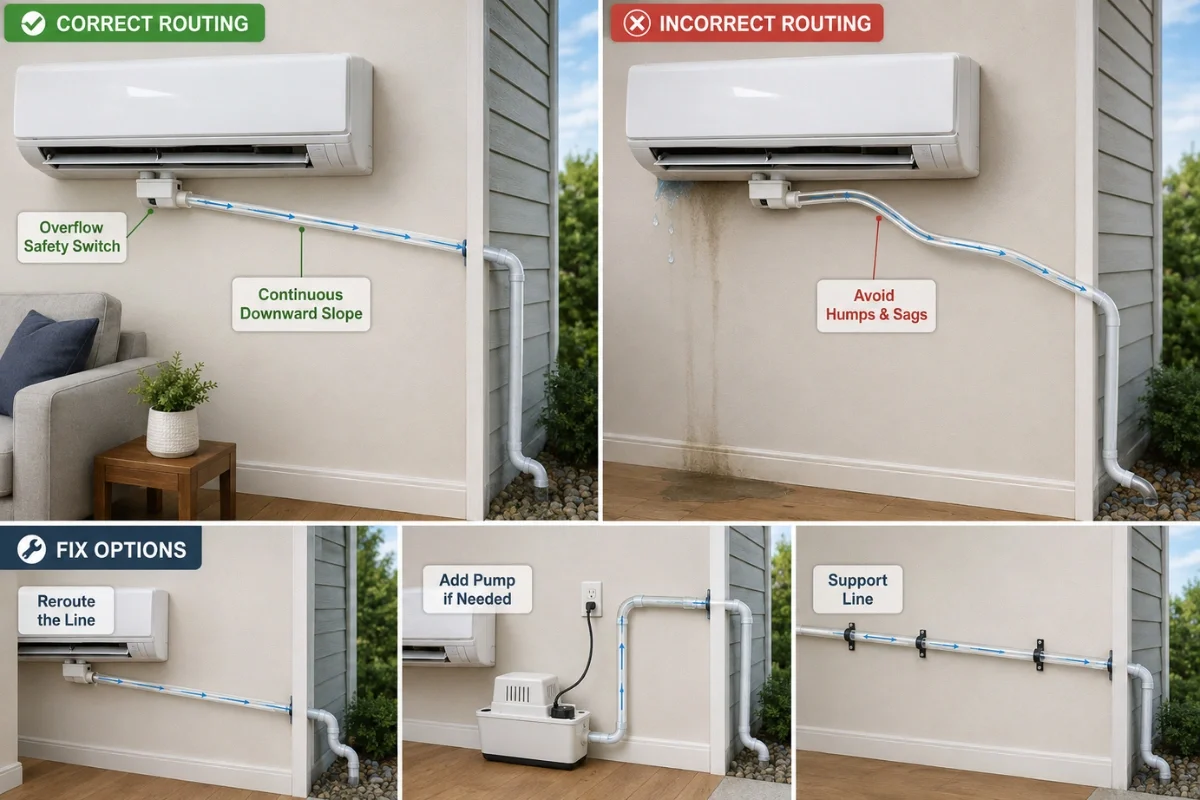
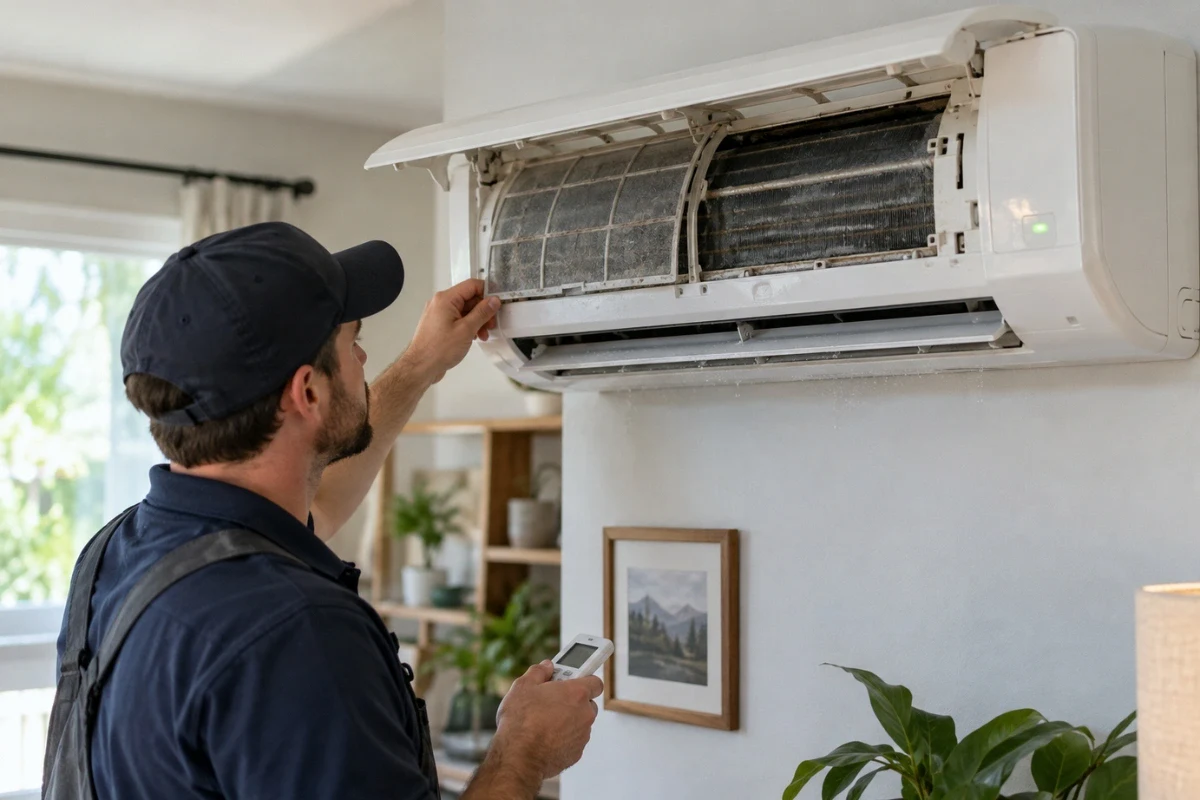
A clogged drain line is the most common service call we receive at Alternative Aire. Most homeowners do not realize their system is leaking until they see water stains on the wall.
You can prevent this by installing a condensate overflow safety switch. This device shuts off power to the unit if water backs up, stopping the leak before it starts.
Water will never travel uphill on its own; it will simply spill out of the drain pan mini split indoor unit and onto your floor. If your route has a “hump,” you must act quickly.
- Reroute the line: You may need to move the pipe to maintain a consistent slope for the mini-split drain line.
- Add a pump: A condensate pump mini split can push water vertically to a higher exit point.
- Check for sags: Ensure the pipe is supported every four feet to prevent new dips from forming.
Fixing a ductless AC drain line running uphill prevents mold and costly structural repairs.
Final thoughts
Mastering proper line set routing and condensate drainage is the secret to a long-lasting HVAC system. By following the North Carolina Mechanical Code and carefully planning your route, you ensure home comfort and safety. These technical details prevent water damage and keep your energy bills low year-round.
If you feel overwhelmed, contact the experts at Alternative Aire to handle your installation. We provide the professional support needed for a perfect setup. Protecting your investment starts with a high-quality, code-compliant installation today.
Frequently Asked Questions (FAQs)
What is the code requirement for a condensate drain?
The North Carolina Mechanical Code requires drainage to an approved receptor. You cannot discharge water into crawl spaces, onto walkways, or into areas that create a slip hazard.
Where to route a condensate drain line?
Route lines to floor drains, utility sinks, or outdoors away from the foundation. Ensure the exit point won’t cause soil erosion or basement moisture issues.
What is the recommended slope for condensate drain lines?
Maintain a minimum downward slope of 1/4 inch per foot. This consistent pitch prevents standing water, biofilm buildup, and accidental backups into your indoor unit.
What is the minimum condensate, waste, and drain line size?
Code typically mandates a 3/4-inch minimum internal diameter. Smaller pipes clog easily with algae, while larger diameters ensure smooth, reliable gravity flow for the system.
What is the 135 rule in plumbing?
This rule limits horizontal direction changes to 135 degrees without an accessible cleanout. Keeping the runs straight prevents debris traps and makes future maintenance much easier.
Do you need a P-trap for a condensate drain line?
Traps are mandatory when connecting to sanitary sewers to block odors. Outdoor gravity drains, they prevent pests and air bypass in negative-pressure air handlers.
What are the most common plumbing code violations?
The most common violations include improper slope, discharging into unauthorized areas, and failing to install a secondary safety overflow switch.